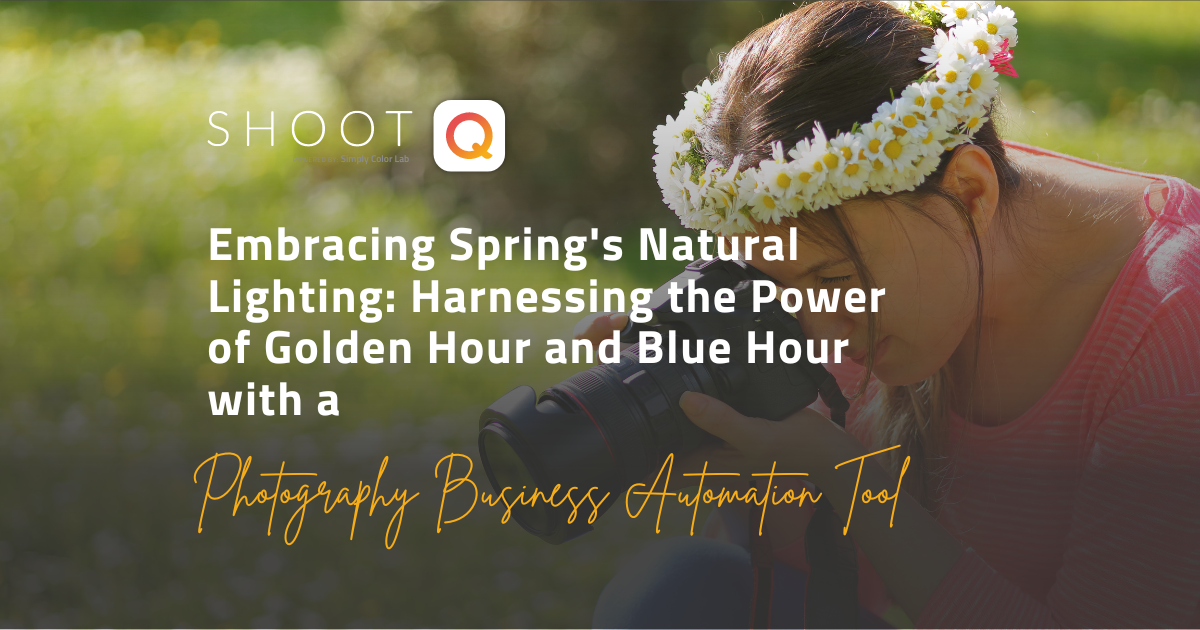
Spring is a season of renewal, rebirth, and beautiful natural lighting. As a photographer, you can harness the power of golden hour and blue hour to create stunning images that capture the magic of this season. In this article, we’ll explore the secrets of capturing breathtaking photos during these magical hours and offer tips on how to use natural lighting to elevate your photography game.
Understanding Golden Hour and Blue Hour
Golden hour and blue hour are two periods of the day that offer ideal natural lighting for capturing stunning photos. Golden hour is the period just after sunrise or before sunset when the sun is low in the sky, casting a warm, soft, and golden light. It usually lasts for about an hour, but it can vary depending on your location and the season.
Blue hour, on the other hand, occurs just before sunrise or after sunset when the sun is below the horizon, and the sky takes on a deep blue hue. It’s the perfect time to capture beautiful cityscapes, silhouettes, and moody scenes.
Using Natural Light to Your Advantage
Natural light is a powerful tool that can help you create stunning images during spring. Here are some tips on how to use natural light to your advantage during golden hour and blue hour:
Plan Ahead
Before you head out to shoot, it’s essential to plan your location, time, and subject. Use apps like PhotoPills or The Photographer’s Ephemeris to determine the exact timing of golden hour or blue hour in your location.
Find the Right Location
Choosing the right location is crucial when shooting during golden hour or blue hour. Look for a location with interesting features, such as a skyline, mountains, or a lake, that can add depth and interest to your image.
Use a Tripod
Using a tripod is essential when shooting in low light conditions. It helps you stabilize your camera and reduces camera shake, resulting in sharper images.
Use Aperture Priority Mode
Using Aperture Priority Mode can help you control the depth of field in your images. Set your aperture to a low number (f/2.8 to f/5.6) to create a shallow depth of field, which helps separate your subject from the background.
Use Manual Mode
Manual mode gives you complete control over your camera settings, including shutter speed, aperture, and ISO. It’s the best mode to use when shooting during golden hour or blue hour.
Shoot in RAW
Shooting in RAW format gives you more flexibility during post-processing. It allows you to adjust the exposure, color temperature, and white balance without losing any image quality.
Be Creative
Don’t be afraid to experiment with different angles, compositions, and perspectives. Try shooting from a low angle or a high angle, or use leading lines to create a sense of depth and movement in your image.
Tips for Shooting During Golden Hour and Blue Hour
Here are some additional tips for making the most out of these magical hours:
Use Reflectors or Diffusers
Reflectors or diffusers can help you control the direction and intensity of light. They can be used to fill in shadows or soften harsh light, resulting in more balanced and flattering images.
Use a Polarizing Filter
A polarizing filter can help reduce glare and reflections, making colors more vibrant and saturated. It can also help you capture deeper blue skies during blue hour.
Experiment with Shutter Speed
Using slower shutter speeds during golden hour or blue hour can help you create dreamy, ethereal images. Experiment with different shutter speeds to achieve the desired effect.
Use Silhouettes
Silhouettes are a creative way to capture the beauty of golden hour or blue hour. Place your subject against the colorful sky and underexpose the image to create a striking silhouette effect.
Editing Your Photos During Golden Hour and Blue Hour
Post-processing is a crucial step in creating stunning images during golden hour and blue hour. After you’ve captured your images, it’s time to edit them and bring out their full potential. Here are some tips for editing your photos during these magical hours:
Adjust the Exposure
During golden hour and blue hour, the light is constantly changing, which can make it challenging to get the exposure right. To compensate for this, adjust the exposure in post-processing to bring out the details and colors in your images.
Adjust the White Balance
The color temperature during golden hour and blue hour can vary widely, depending on the location and weather conditions. Use the white balance settings in your editing software to adjust the color temperature and achieve the desired effect.

Enhance the Colors
Golden hour and blue hour are known for their warm and cool tones, respectively. Enhance these colors in your images by adjusting the saturation and vibrance settings.
Sharpen the Image
Shooting in low light conditions can result in soft and blurry images. Use the sharpening tools in your editing software to enhance the details and make your images look sharper.
Using Photography Business Automation Tools
In addition to understanding natural lighting and having the right skills, utilizing photography business automation tools can save you valuable time and streamline your workflow. By automating your repetitive tasks, such as invoicing and post-processing, you can focus more on the creative aspects of your work.
One such tool is ShootQ, which offers features such as automated invoicing, image delivery, and contact management. With ShootQ, you can save time and deliver high-quality work faster, resulting in happier clients and a more profitable business.
Mastering the Art of Shooting During Golden Hour and Blue Hour: Tips and Techniques for Photographers
Capturing stunning photos during golden hour and blue hour requires patience, planning, and skill. By understanding the secrets of natural lighting and using the right techniques, you can elevate your photography game and create breathtaking images that leave a lasting impression on your clients. Remember to plan ahead, choose the right location, use a tripod, and experiment with different settings and techniques. And, if you want to streamline your workflow and save valuable time, consider utilizing photography business automation tools like ShootQ. With practice and persistence, you’ll be able to create images that capture the magic of spring and the beauty of natural lighting.